Step by Step Spring Cleanup
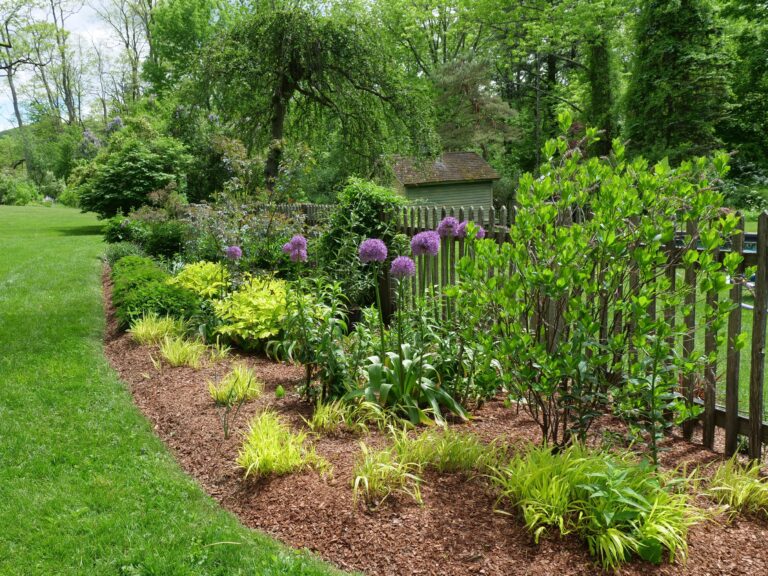
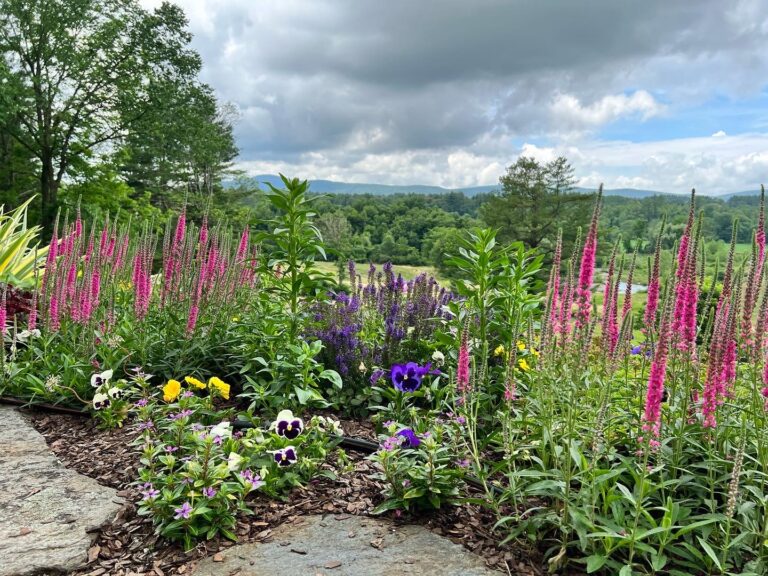
At Berkshire Greenscapes, the start of spring means one thing: spring cleanups galore! We spend the beginning of our season readying our clients gardens for summer planting and the growth that is yet to come. From cleaning up well-maintained gardens, to renovating over-grown areas, here’s a step-by-step process that anyone can follow to get your gardens into shape for the season.
1. Blow-Out
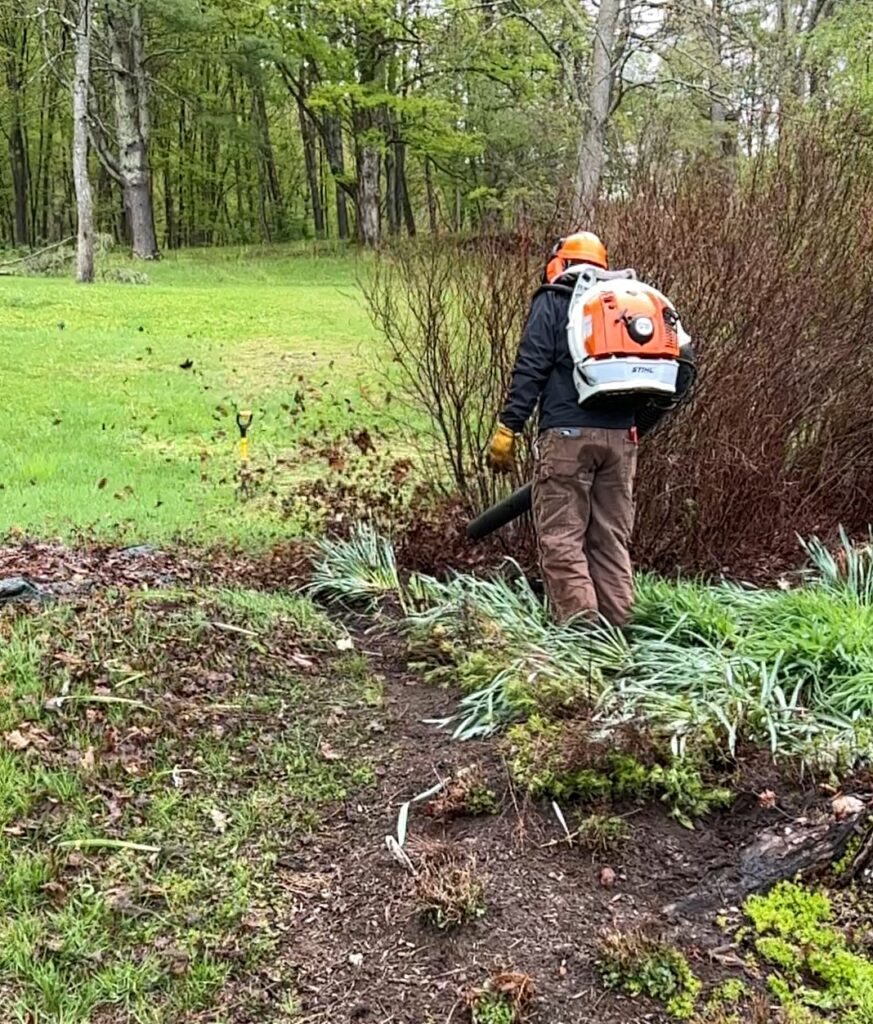
To begin any spring cleanup, it’s a good idea to grab a leaf blower and blow any leaves and excess debris out of your garden space. This will give you a clearer picture of what you are working with, making any next steps much easier!
Be sure to direct the leaf blowing towards a woodline or onto a tarp for proper disposal of the debris.
2. Pruning & Cutback
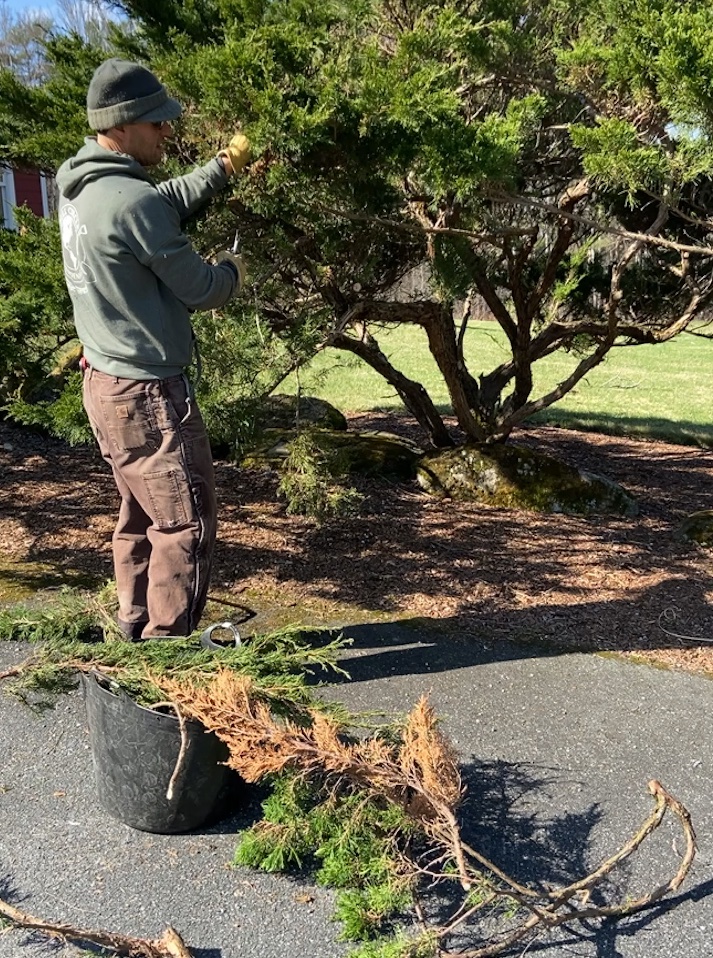
What perhaps gives many gardens a next-level type of clean look is a great pruning job! You’ll want to take your time with this task, and consider each perennial and shrub separately.
Cut back any dead plant material from past seasons completely. When it comes to your shrubs and trees, you’ll want to focus on removing any broken branches with clean cuts and clipping any sucker branches that are not a part of the main trunk or shrub. Beyond this, we recommend making thoughtful cuts to give more space and open-ness to your shrubs.
3. Weeding
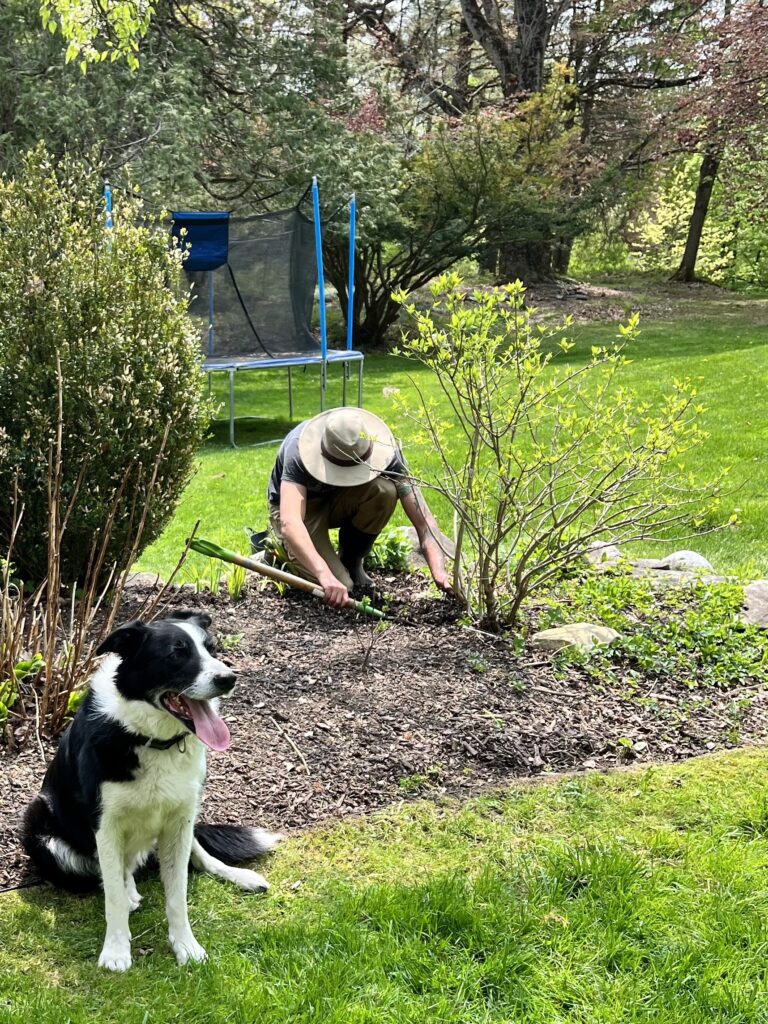
The next step in your garden cleanup can be a time-consuming one—weeding. You want to weed out your garden space to create a clean slate for any soil amendments and mulch that you add afterwards.
Depending on when you begin your spring cleanup, you could have small micro-weeds… or BIG established weeds. Again, take your time, and rest assured that weeding is an ongoing task you’ll be doing all season, so you can always re-weed next time.
Check out this video demonstrating weeding with a hori hori knife (our fave!)
4. Ammend Your Soil
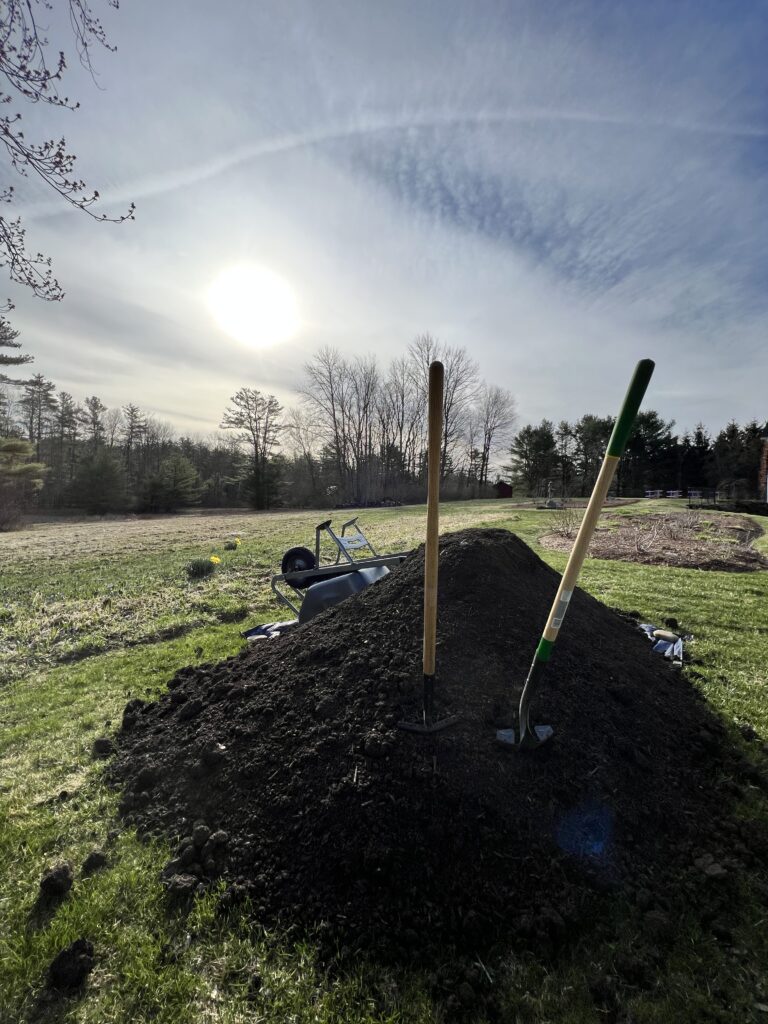
Now that you’ve readied your garden space and rid it of most of your weeds and dead material, you can add some material that will help your plants for the growing season.
We like to add locally sourced compost, or organic material like moo-doo to enrich the soil composition and help with water retention during the warmer months. We also add our fertilizers at this point. After adding any amendments, take a little time to scratch it into your soil for best results.
5. Refine Your Edge
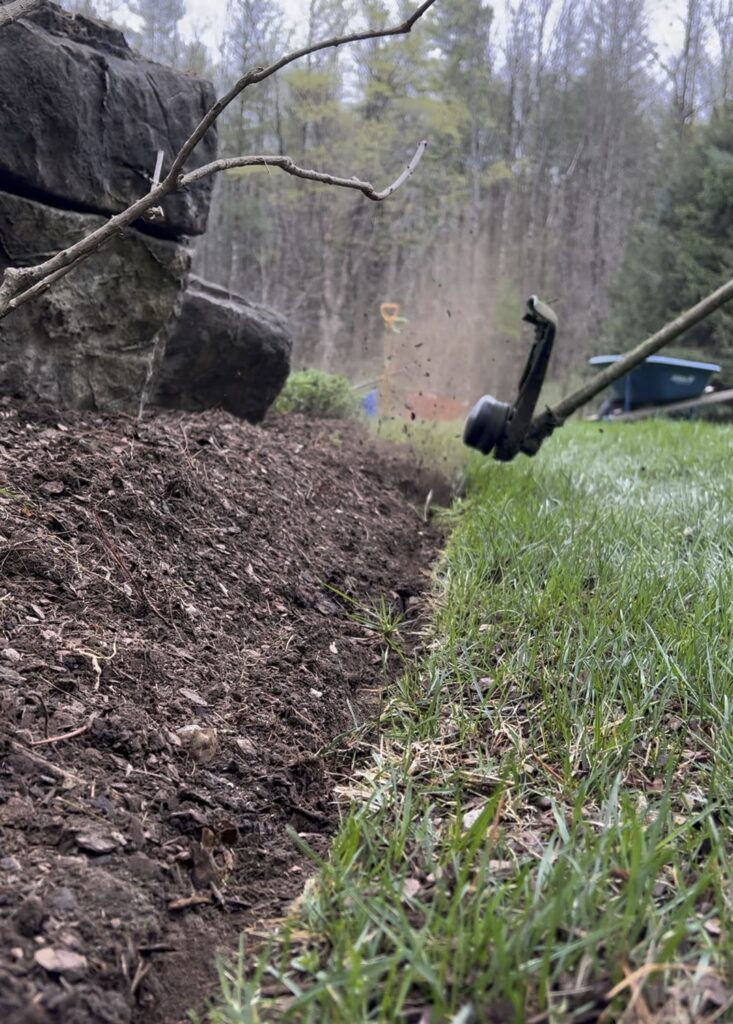
Next, you’ll want to frame your garden space and differentiate it from your lawn, etc. with a proper edge. This could mean re-cutting a previous edge, or defining a new one.
There’s a variety of edging methods—choose your favorite! Your goal is to have a clean line that separates the garden space from its surroundings.
This photo shows edging with a power tool, but click here for video on edging using the traditional tools!
6. Mulch Madness
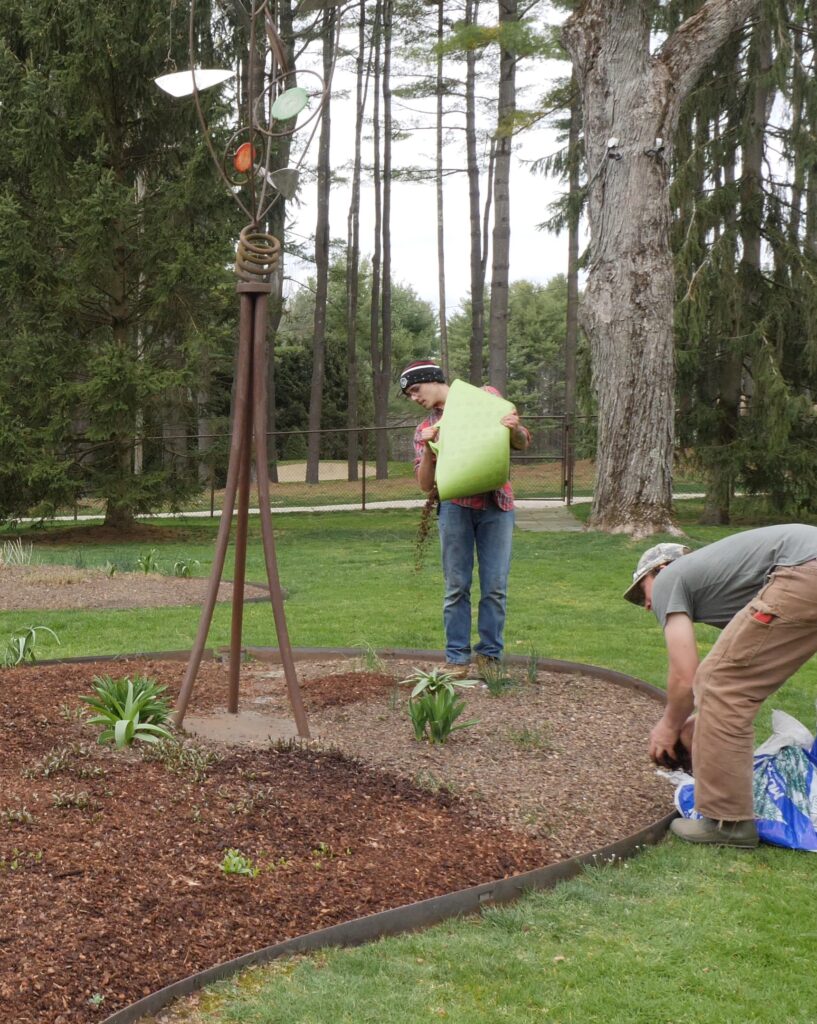
To mulch or not to mulch? It’s never a question for us—always mulch!
Mulch has many benefits for your garden, including suppression of weeds, water retention, and support of the soil composition over time. It also looks great and gives your garden that “finishing touch”.
We recommend scattering your mulch to an ultimate depth of 3-4″, being careful not to stomp all over your garden space or freshly mulched spaces!
7. Final Cleanup
The last step to a great spring cleanup is to clean up any messes you’ve made in your cleanup process. We like to use a leaf blower or broom to clear any mulch off of rocks, walkways or even off of plants.
You also might want to rake up any mulch other debris from the lawn outside of your clean garden edge. And finally, discard any plant materials into your compost.

Don't forget to take before & after photos!
We just love the instant gratification of seeing how these gardens transform—so we try to take before and after shots when we can (especially of overgrown areas!).
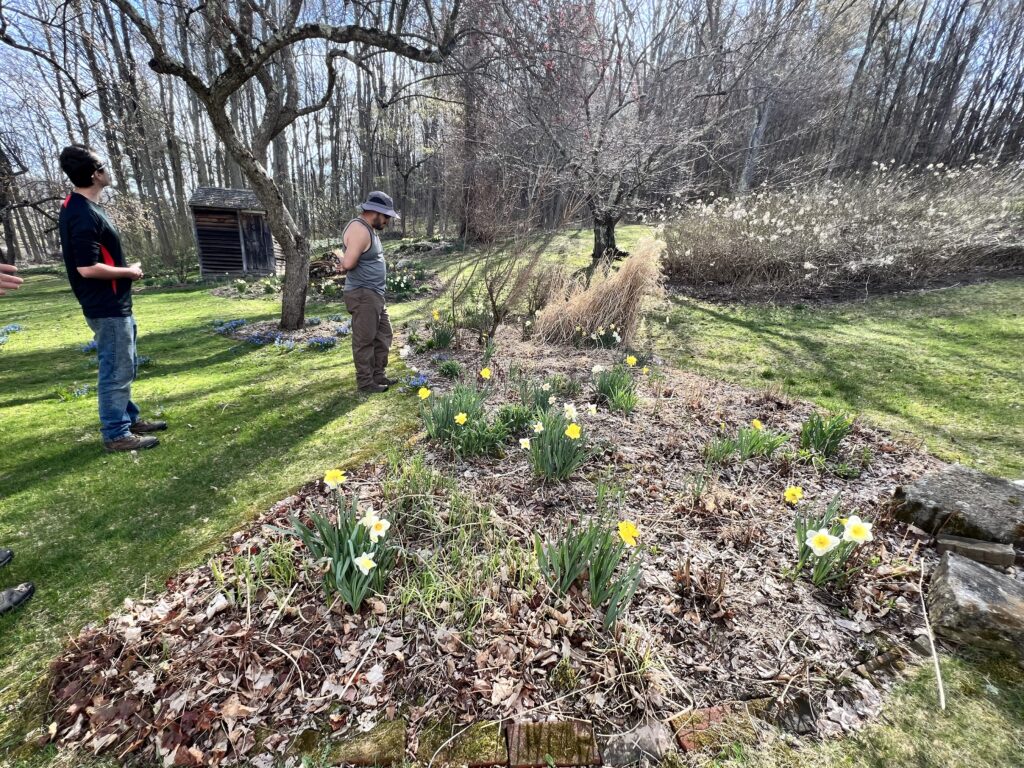
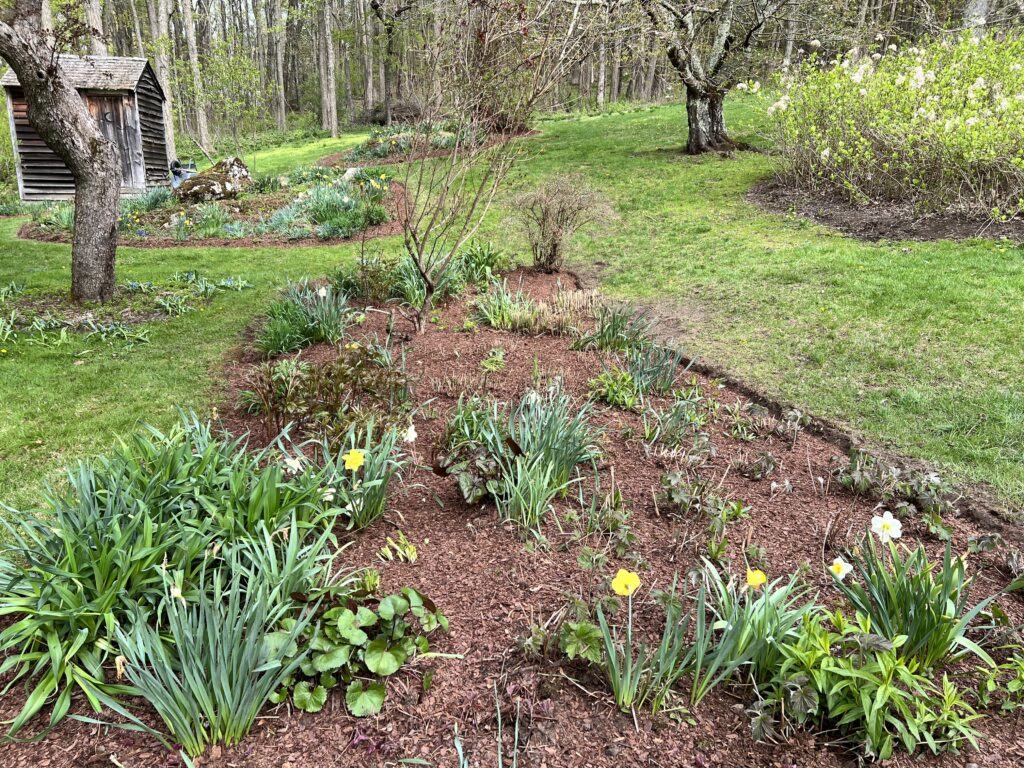
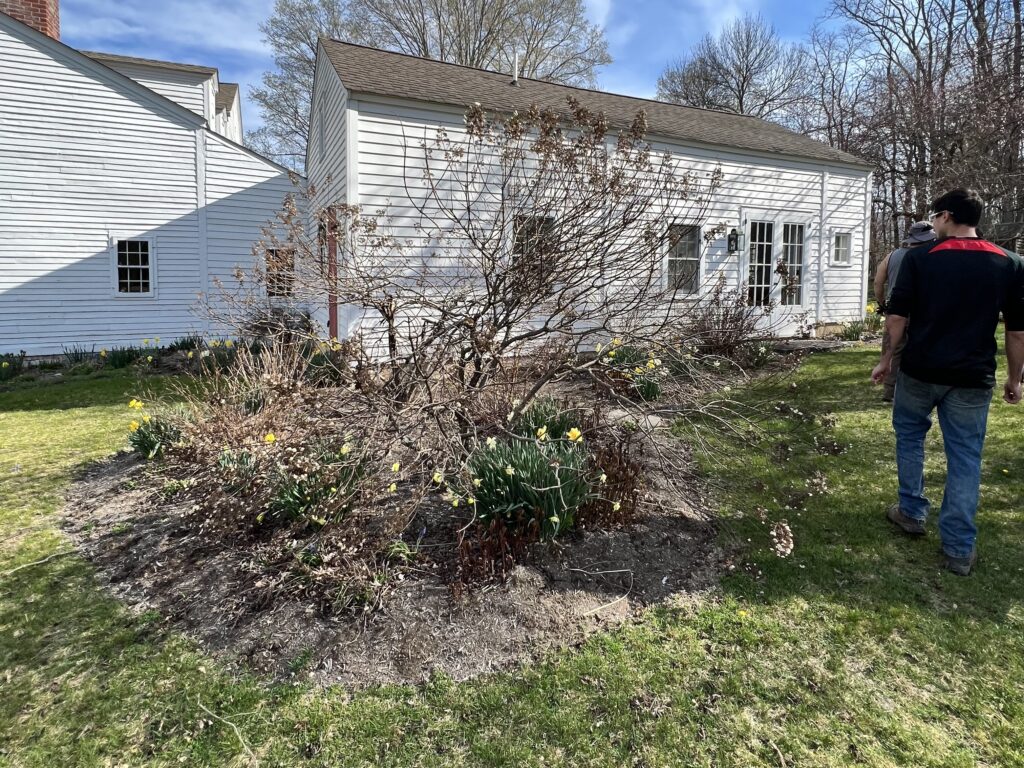
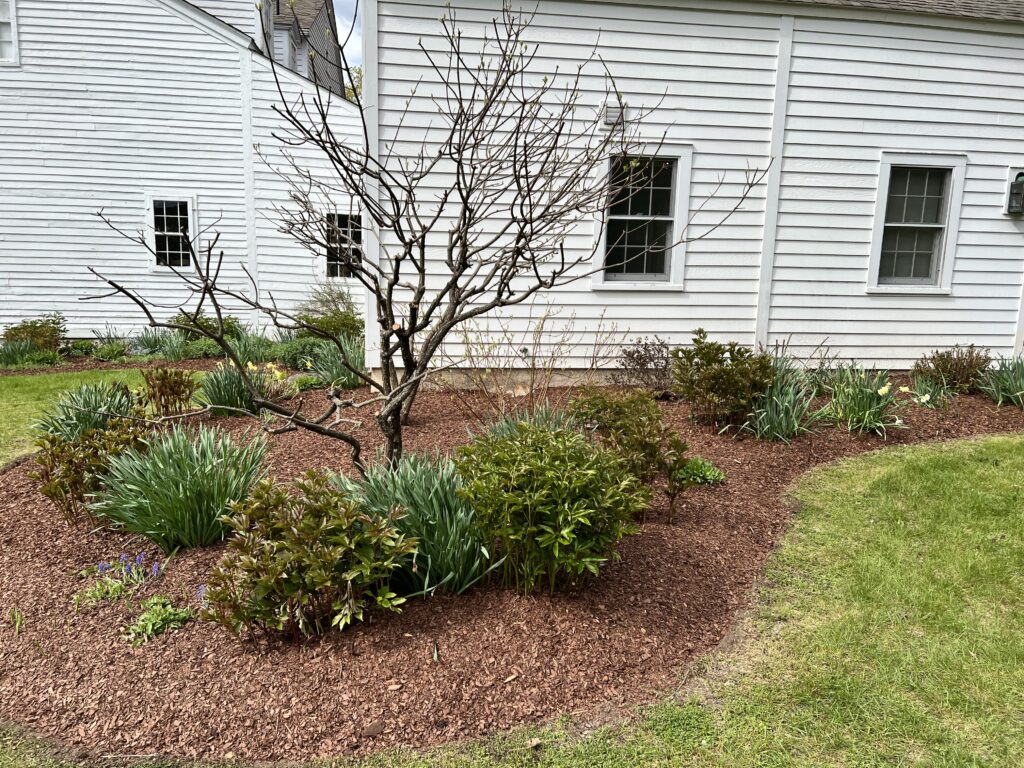
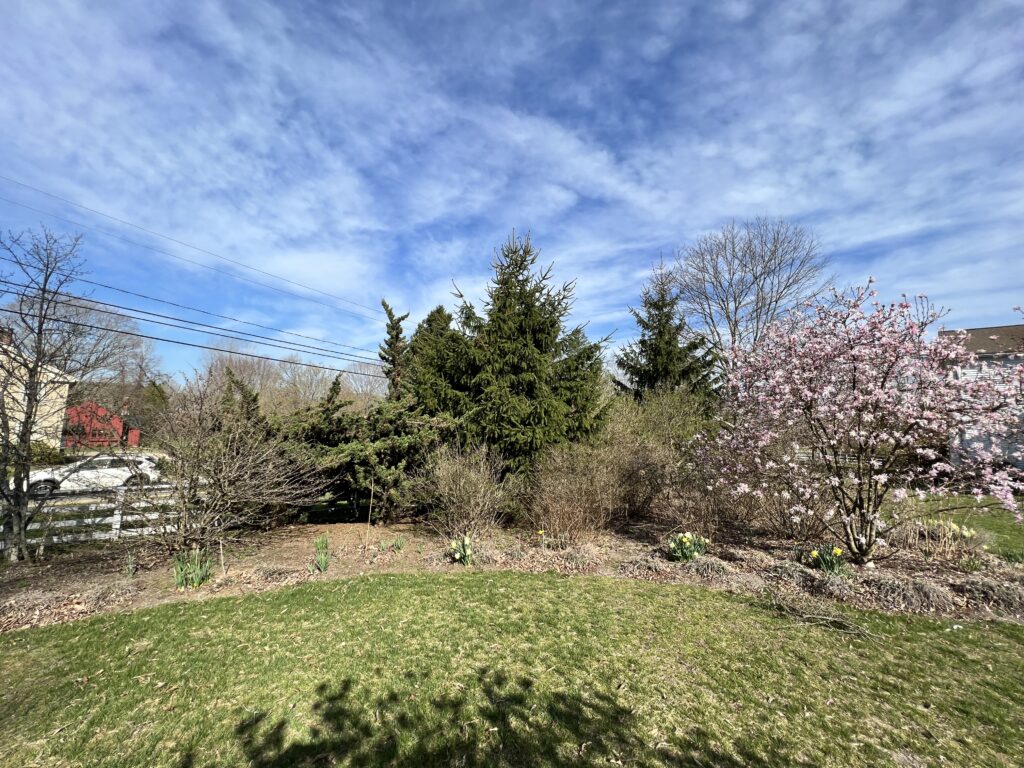

If you have some great before and after shots of your spring garden cleanup, feel free to share them with us!

